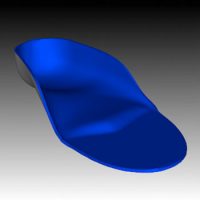
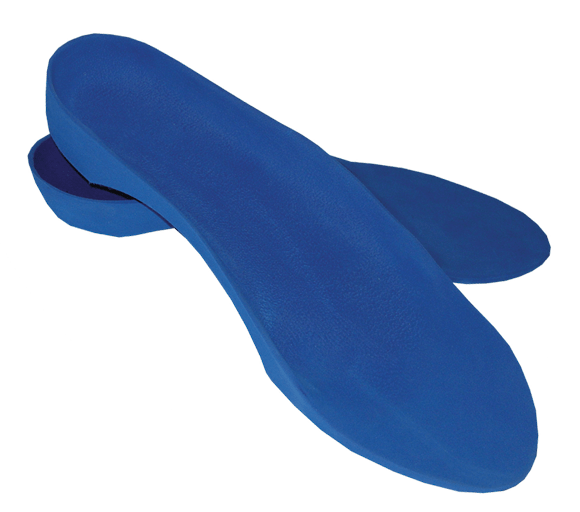
Complex Insole Design Made Easy
Now you can easily create orthopedic insoles that add relief, provide support, or compensate for leg-length discrepancy
Fast and Easy Design Solution
Four simple steps for perfect insole design, that meet your patients' needs.
01
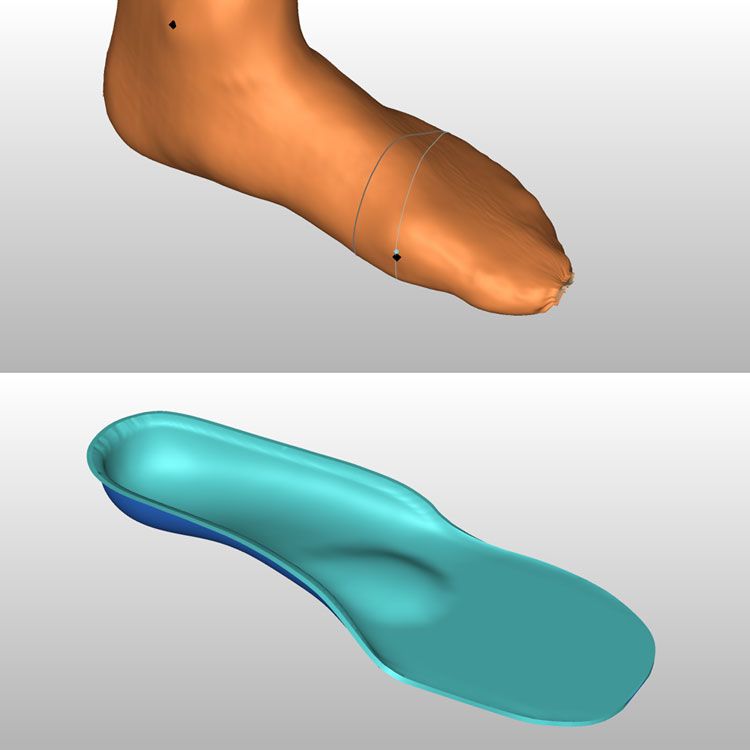
Obtain patient features with the 3D Plantar Scanner or by manually measuring the patient foot and capturing weight bearing imprint data.
02
Scale your scan or measurement data to match an insole design from a library of shapes or merge library characteristics (such as a toe box) with your design.
03
Modify the shape using the 3D plantar image, pressure mapping information, and clinical recommendations to suit your patient's needs.
04
Send your shape design to the insole carver.
Many Ways to Get Started
Before getting started, you need an insole library. Standard features and design elements are built in to the library shape, giving you a starting point for your insole.
01

Use a Vorum insole library
Purchase an existing Library to use with your design software.
02

Create a new library
Work with Vorum to design an insole library that suits your specific needs.
03

Digitize your plaster shapes
Create your own custom library based on your existing plaster mold collection.
Fast, Consistent, Versatile
01.
Fast
Much faster than traditional plaster techniques.
02.
Accurate
Produce consistent, high-quality insole shapes.
03.
Versatile
Choose how you work - use a scanner or manual measurements, a 3D scan or a library model, and produce soft foam insoles or a positive model.
04.
Comprehensive
apply toe spring and metatarsal pads; provide arch support; add relief for ulcers, heel spurs, bunions and hammer toes; add a deep heel cup; add wedges to compensate for leg-length discrepancy; use customizable trimlines; and more.


